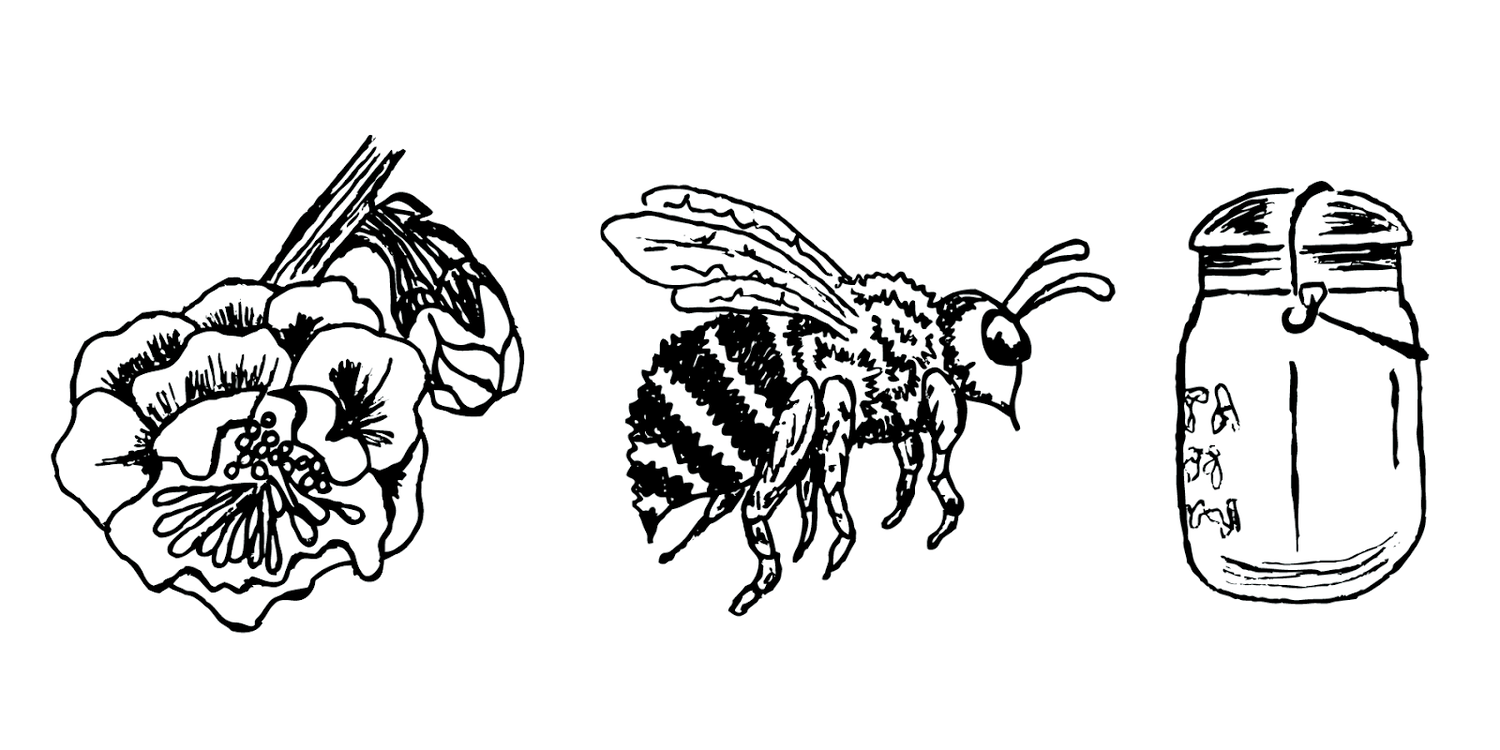
Raspberry Honey Jam

A childhood and adult favorite of mine, there is never enough Raspberry Jam in the world.
(produces 42-48 oz. of jam or about 10 x 4-ounce mason jars)
Equipment: silicon spatula, scale.
3 lb. red raspberries
1 lb. 14 oz. honey (there are a range of sweetness levels to raspberries depending on the variety so feel free to adjust the honey down to 1 lb. 12 oz if you have very sweet raspberries)
4-5 oz. (weight) fresh squeezed and strained lemon juice.
Measure honey into your preserving pan. This recipe is designed to cook in a wide 11.5 quart copper preserving pan. If you don’t have something this large and wide in your kitchen, halve this recipe. The best jam cookware (ie surfaces that cook the hottest and fastest and gives you the smoothest surface for preventing sticking) is unlined copper followed by enameled cast iron (like a Le Creuset Dutch oven) followed by stainless steel. Avoid aluminum cookware.
Place 5 spoons on a plate in the freezer. Measure honey into your pan of choice and start melting it at medium to high on the stove. Now, there are two ways we can approach the Raspberry Jam. We can go for range of texture or keep it simple and cook all the fruit at once. If you want a mix of whole and broken raspberries in your finished jam, reserve a half pound of the raspberries to add to the jam later in the cooking process. You also get more whole raspberries in your jam if you start with frozen berries…an invitation to make Raspberry Jam in April!

When the honey is liquid and barely starting to bubble/foam, pour in your raspberries (2.5 or 3 pounds depending on the texture we are going for) into the center of the pan. Turn heat to high. Do a quick stir. The heat will reach the berries and their juice will flow and mix with the honey in a way that doesn’t negatively interact with the unlined copper if you are working in a copper jam pan. When the mixture reaches a full boil, pour in the lemon juice into the center of the mixture. The fruit and honey will return to a boil and we are now in stage 1 of the cooking process.
(A note on stirring. Other than combining ingredients in the jam pan, you hardly want to stir jam while you cook. The whole goal is to cook the mixture as quickly as possible, getting it to gain and retain heat to quickly boil off the fruit’s water and promptly reduce the mix down to setting point. The quicker the cook time, the less the honey caramelizes and the stronger and fresher the fruit flavor. Stirring the pot slows the cooking. Later in the process, we use the spatula to feel along the bottom of the jam pan, scraping, assessing doneness and keeping the jam from sticking while maintaining as high a cooking temperature as possible. The way the jam moves around the spatula is one of our ways of assessing doneness. So when I say, stir, you are first preventing sticking and second, assessing texture and closeness to jam “set”, which is the term used to describe finished jam with the perfect texture).
In stage 1 of cooking, focus on observing the changing appearance of the cooking fruit and honey mixture. Pay attention to bubble size and what’s happening to the foam. Initially, in stage 1 of cooking, the fruit and honey mass is expanding upwards in the pan, producing a lot of foam. Note how the foam is light colored (watery). As we advance through the cooking process, the color of the foam will change and darken in color and grow glossier. If you have a boil-over, simply reduce the heat a little, but as you progress through the cooking (past the chance of a boil over) don’t forget to inch the heat back up to high.
Stage 2 is marked by the descent of the honey and fruit mixture downwards in the pan. The bubbles of the foam reduce in size. You’ll notice a change in the sound of the mixture. The jam develops a rumbly, low pitch as it transforms into jam. Intermittently, start feeling along the bottom of the pan with your spatula. Raspberry seeds love to stick. Make sure you have your jarring utensils in place at this point and finish up any running around you need to do because once we go into the final stage of cooking, you’ll be at the stove stirring consistently.

You’ve entered the final stage of cooking when the layer of white bubbles and pink/white foam is nearly gone and the raspberry and honey mixture is fully revealed. If you went with the more textured recipe option, this is when you would pour in the reserved ½ lb. of raspberries, gently distributing them over the entire surface of the cooking jam. Let the mixture get back up to temperature without disturbing it with your spatula. This new fruit will create a brief resurgence of white foam (water evaporating). Stay close by and use your spatula to keep scrape the bottom of the pan. When you scrape the pan, does the jam stay parted momentarily after the spatula passes through, allowing you to see the bottom of the pan? That’s a sure sign the jam is done or moments from being done.
Other signs, the bubbles are pushing up from the bottom of the pan rather than just the surface of the jam. The bubbles have drastically reduced in size. This is the time to use our spoons in the freezer to test doneness, placing a spoon of jam back in the freezer, letting the jam cool to a room temperature, essentially re-creating what the jam will be like when cooled down and set. Each time we check for doneness we are taking the pot of jam off the heating element so it stops cooking. Nudge the jam on the spoon gently with your finger; if it’s thick and gloppy, it is either done or almost done. Tilt spoon vertically; if jam runs very slowly it is thickened and done. If it runs very quickly or appears watery, continue cooking a few minutes more, stirring, and re-test until done.
If you are canning the jam, follow the jar manufacturer’s instructions or if you want to eat your preserves right away and don’t feel like canning, simply place the jam in sterile glass jars cap and cool and store in the refrigerator.
Troubleshooting. Feeling a little stressy and don’t truly know if that jam is done, but it’s currently cooling and who knows how it turned out? That’s ok. Let’s be honest, this takes practice. When I eat my preserves, I’m looking at texture and thinking about taste and carrying those responses back into the kitchen as I cook a recipe for the thousandth time. When you do open your jam after its cooled, look at the texture. Is it thinner than you expected? Next time you cook this recipe, cook it a little longer. Is it super thick and it’s tough to spread on toast? Next time you cook this recipe, pull the pan from the flame sooner. Either way, it’s delicious and you are one step closer to becoming a jam pro!