Amy's favorite flavor, Royal Blenheim Apricot Navel Orange Conserve Recipe
Equal parts marmalade and jammy conserve, you can make this preserve year around, substituting Valencia oranges when you can’t find Navel oranges. Because the recipe uses citrus juice and the delightful tart and dried Royal Blenheim Apricot, the preserve’s finished flavor reminds me of drinking fresh squeezed orange juice. The cinnamon gives body and length to the flavor, but using Ceylon cinnamon keeps the flavor perky and doesn’t draw down the conserve’s vivacity. Do not substitute dried Turkish apricots! The flavor will be completely different. Dried Royal Blenheim Apricots are sometimes called California Apricots. Check your local grocer. I’ve noticed that Trader Joes consistently carries sulphered and unsulphered dried Royal Blenheims. I like to use the unsulphured apricots, but if you want that bright orange color go for the sulphered fruit. If you are still having trouble finding the Royal Blenheim Apricot (a very possible problem as this apricot variety is on the Slow Food’s Ark of Taste, meaning it’s an endangered variety), head online and look around. Or plan ahead for next year. Here in Seattle, there are two farms that bring these apricots to the University District farmers market. Next summer, late June-early July, look for fresh Royal Blenheims at the summer markets and dry your own apricots for winter. You will treasure them!
The recipe:
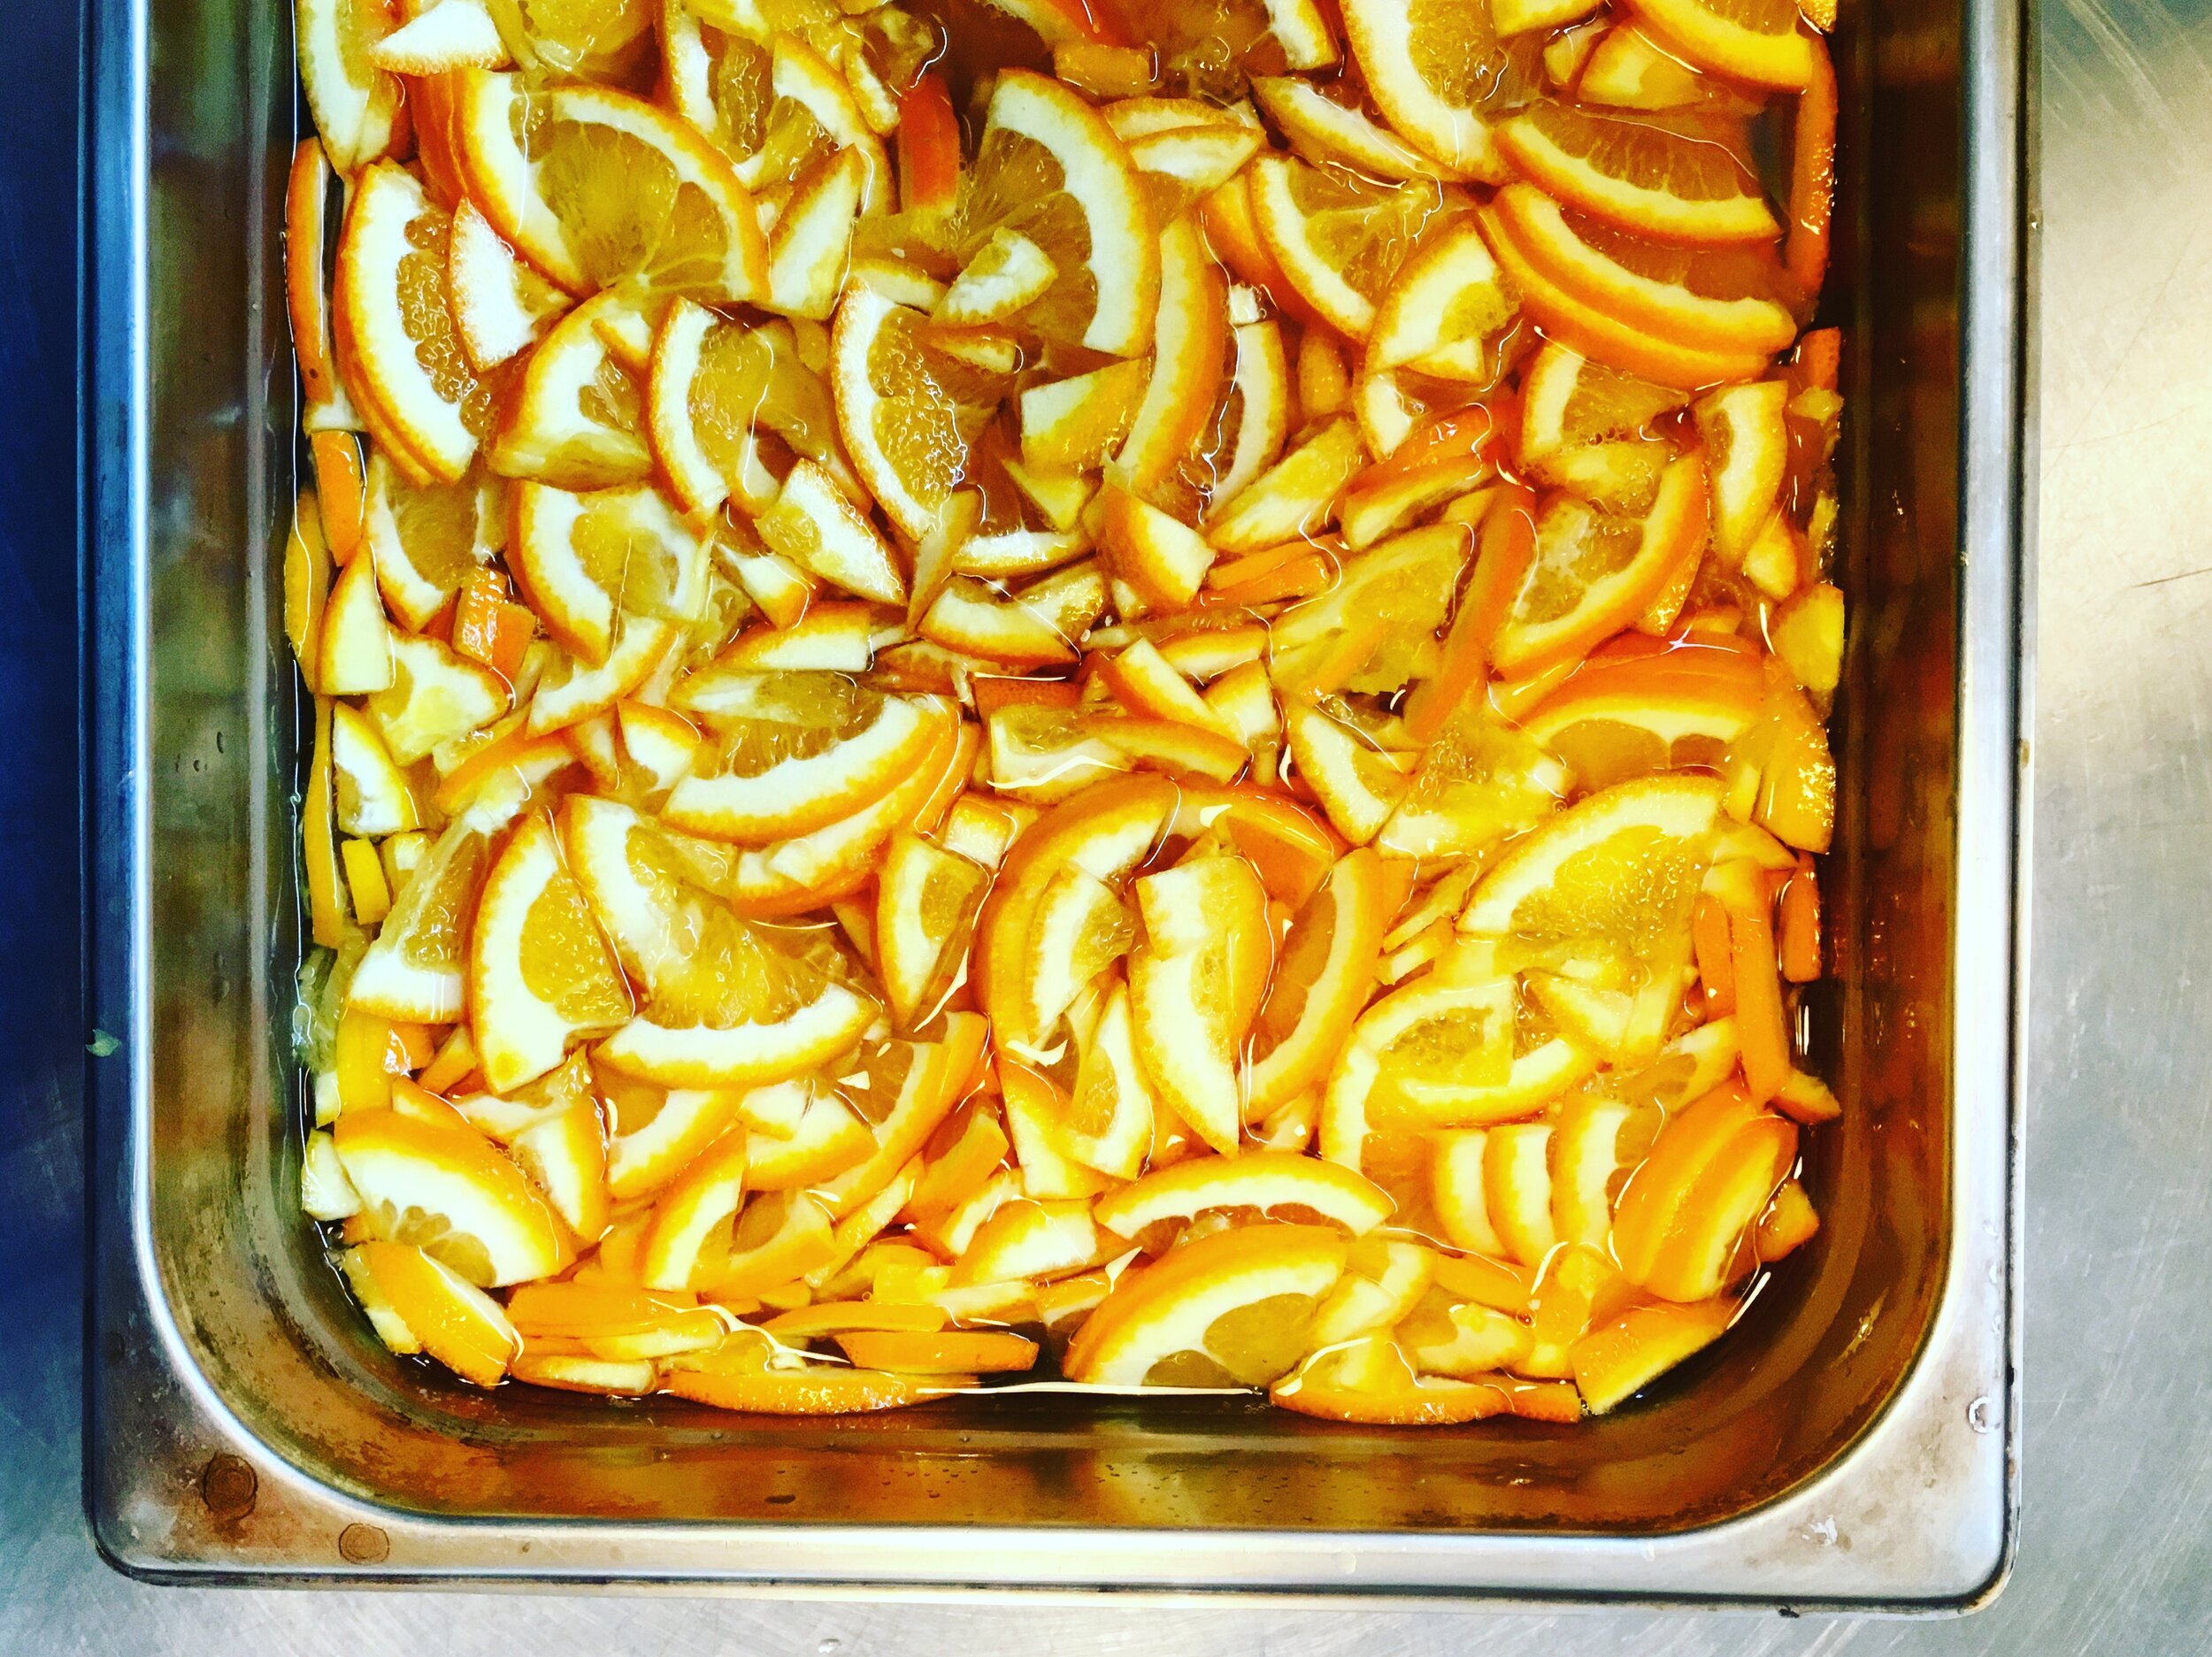
1 lb. thin-sliced navel oranges. Some slicing technique: cut the orange into quarters lengthwise. Recreate a half orange by cozying two of the quarters (skin side up) side by side on your cutting board. Slice the two quarters using widthwise cuts. What falls away from your knife should look like slices of pie.
8 oz. dried Royal Blenheim Apricots in halves or pieces
8 oz. fresh squeezed, strained orange juice (8 oz of weight, not fluid ounces)
7 oz. fresh squeezed, strained lemon juice (8 oz of weight, not fluid ounces)
2 pounds 9 oz. blackberry honey
¼ teaspoon ground Ceylon Cinnamon
½ teaspoon almond extract
Day 1
Slice the oranges as directed above. Distribute the slices evenly into a non-reactive cooking pan and cover with cold water to about an inch above the fruit line. On high heat, bring the water and fruit to a boil. Lower the heat to medium-low and simmer for 5 minutes. Discard the cooking liquid by pouring the orange slices into a strainer. You have now blanched out a good bit of the orange’s bitterness. Return the orange slices to the non-reactive cooking pan and cover with cold water to 1 inch above the fruit line. Bring the pan to a boil over high heat, cover with a lid and lower the heat. Cook the fruit at a simmer for 20-30 minutes, until the fruit slices are tender. To check this, reach a fork into the pop and pick out a slice to sample. If the oranges are tender and finished, remove the pan from the heat and allow to sit covered overnight at room temperature.
While the orange slices cook, juice the oranges and lemons. Find a snug container for apricots, something large enough to allow the fruit to expand as it rehydrates and small enough to ensure the apricots stay covered in liquid. I often use a deli quart containers or an old yogurt tub. Just make sure the container doesn’t have any residual food smells.
I like to rehydrate my apricot halves and then give them a rough chop on day 2 using a food processor but if you don’t have one of those, take a moment now to chop your apricots into pieces roughly the size of ¼ inch by ¼ inch. Don’t worry about being too precise. You probably won’t mind the occasional big chunk of fruit in your finished preserves. Pour the strained juices over the dried apricots. I press a layer of plastic wrap on the surface of the apricots to assure they are sitting in liquid. Set your hydrating apricots in the refrigerator overnight.
Day 2
If you chopped your apricots yesterday then skip to the next paragraph. Otherwise, get out the food processor and into its bowl place the apricots and any unabsorbed juice. Give 5-8 pulses to the fruit and liquid mixture depending on the power of the machine. It might be necessary to move things about in the bowl using a spatula to ensure a more even cut size. You want manageable, bite size pieces of apricot.
In a large bowl, mix together the blackberry honey, the apricot and juice mixture, the almond extract and the ground cinnamon. Last, add the orange slices and their liquid and give a few more swift stirs. Pour this mixture into an 11-12 quart non- reactive pan like an enameled Dutch oven or—if you have one—a copper jam pan. If you only have a stockpot, I advise dividing your batch of preserves in half and doing two separate cook sessions. This will ensure a quick cook time, giving you a lighter color, freshest flavor, and the greatest integrity to the conserve’s various textures.
Place a couple spoons on a saucer in your freezer. Bring the jam pan’s contents to a boil over high heat. Resist the temptation to stir at this juncture as it slows the cooking process. You will get lots of stirring in at the end of the cooking process. Let the conserve rip, bubble and roar at full heat. We are evaporating off moisture as fast possible here. Run a silicon spatula along the bottom of the pan using 3 or 4 strokes. You are not stirring. You are noting the texture of the pan’s bottom for any roughness or resistance, and then looking at the end of your spatula to see what, if anything, it pulls off the pan’s bottom. Check in like this every couple of minutes. If you start to encounter some resistance with your spatula or you’re dredging up some fruit bits on the end of your spatula, it’s time to attend the pan with your spatula more often. You are still cooking at high heat here, but if the conserve is spitting at you a lot, feel free to inch down the heat a little and put on an oven mitt to protect your hand. As you near the end of the cooking process, you are feeling along the bottom of the pan every 20 seconds or so. Notice how the bubbles of the mixture change; they grow fewer and look less watery. The conserve is done when you see the following: your spatula explorations leave a clearing that allow you to see the bottom of the pan, the surface of the conserve looks like molten bubbling lava with a riotous surface, the conserve moves as a mass, the mixture has a sheen to it, the pan has a low roar for sound, and the bubbles moving up from the surface contain no silvery water color. Instead, the bubbles are the same color as the conserve. When you see these signs, pull the pan off the heat.
To further check for doneness, place a small sample of the mixture onto one of your frozen spoons. Allow the spoon to cool in your freezer until the underside feels “room temperature”. Tilt the spoon. If the mixture has formed a skin and moves sluggishly down the spoon then the conserve is set and done. If the mixture runs down the spoon easily, return the pan to the stove and continue boiling. Remove the pan from the stove each time you check the set. Check the surface of the conserve in the pot after it’s rested off the stove for several minutes. If you notice a skin has formed on conserve’s surface, this is another sign you have achieved a set.
If you are canning the conserve, follow the jar manufacturer’s instructions. Otherwise, place the conserve in clean glass jars and let cool. Store the conserve in the refrigerator and enjoy often.