Bosc Pear, Bearss Lime, Vanilla Marmalade Recipe

For the last several weeks in the jam kitchen I’ve inhaled the steam of lime, pear and vanilla bean condensing into marmalade. I’m deep in producing several hundred jars of my Bosc Pear Bearss Lime Vanilla Marmalade. Say that fast three times in a row! It is a soft, sweet, and warm marmalade with little zaps of sour and bitter interjected when you bite into the lime rind. I love sampling this preserve to people. And it makes a lovely gift, orange jelly dashed with wisps of green lime rind.
Originality in preserves is a fickle creature. It’s easy to end up muddling flavors in the name of creativity. A cook I know has a thing about cinnamon. “Overused!” she cries. That’s usually my sentiment on vanilla in preserves. Vanilla falls so gracefully into so many flavor brainstorms. Oranges with plums and cardamom, oh, and then I’ll just tie the whole thing up with vanilla! But this bossy, know-it-all voice in my head always interjects, hey lady! that’s the easy way to bring a jam flavor together. In my imagination where ingredients have personalities, vanilla is a sound manager type, someone who takes the tart voice of a blueberry and in the name of balance just mutes the fruit’s special zip right out. But sometimes vanilla in a preserve is more than a tidy bow on top of a flavor and sometimes vanilla steps out of character and lets all the ingredients inside sing at the top of their lungs together. That’s how I think of Bosc Pear Bearss Lime Vanilla Marmalade. The (Persian) Bearss Lime by the way is the very pretty name for the lime you commonly find at the grocery store. Also, Bosc Pear season is winding down here in the Pacific Northwest so grab those pears soon. Allow almost a week for them to ripen in your home so they are drippy with flavor for the marmalade. Lastly, feel free to substitute another pear for the Boscs if they are unavailable.
Bosc Pear Vanilla Lime Marmalade
2 lb 14 oz Bosc Pears (make sure they are very ripe)
1 lb 1 oz Limes (allow them to ripen to a nice gold-green color at room temperature)
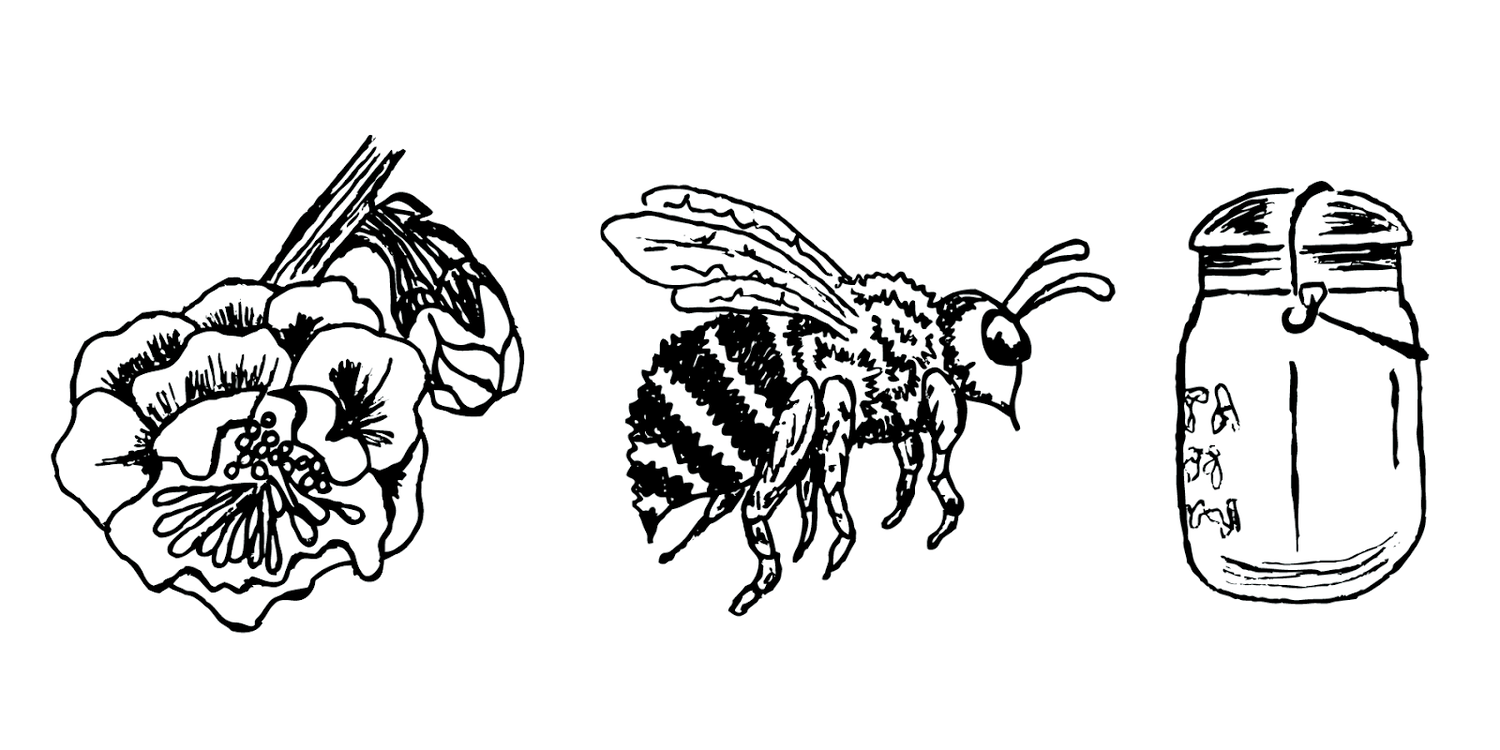
2 lb 8 oz Blackberry Honey
5 oz Lemon Juice, strained
1 vanilla bean pod
Day 1:
Make the pear juice. Cut pears into eighths, place in non-reactive pot, cover with water to one inch above fruit. Pears should float freely in water. Bring to a boil, turn heat to low-medium, cover, and maintain a lively simmer for 3 hours. Check on the fruit every hour. Use a spoon to press on the cooking pears. When the liquid has become slightly viscous pull the pot off the heat. Place a metal mesh strainer over a non-reactive bowl and pour pears and water through the strainer. Cover straining fruit with a lid or plastic wrap and allow to drip for 12 hours.

While the pears cook in water, prepare the limes. Working lengthwise (as though you were making lime wedges), cut limes into quarters. Working widthwise, cut each quarter into thin slices. Your slices should look like tiny pie slices. Place sliced limes in non-reactive cooking pot and cover with water. Bring to a boil, lower heat to lively simmer and cook limes for 5 minutes. Drain and discard the lime cooking water. Return the lime slices to a non-reactive pot and cover with water to one inch above the limes. Bring the pot to a boil, lower the heat, cover and cook the lime slices at a lively simmer until the fruit is softened, about 35 minutes. Pull the pot from the heat and let rest 12 hours.
Day 2:
Cut the vanilla pod in half lengthwise. Scrape out the bean’s contents and deposit them along with the scraped pod, strained pear juice, lime slices and their cooking liquid, honey, and strained lemon juice into an 11-quart, non-reactive and wide preserving pan like an enameled Dutch oven or—if you have one—a copper jam pan. If you do not have a large pan, split the mixture in two and cook in your standard stock-pot in two rounds.
Over high heat, bring the pot to a boil. The mixture will cook at a high heat until it sets. I like to determine set by having several spoons ready on a plate in the freezer. Cooking times vary depending on the pan and your stove. The cooking mixture will proceed through several cooking stages. When it reaches the foaming stage start to run a heatproof spatula along the bottom of your pan. Don’t over-stir! This slows the cooking process. As the foam disappears, the bubbles get smaller, and the sound of the pot changes to a low, dull roar, stir more often to prevent sticking.
Test for doneness by pulling the pot off the heat and placing a small bit of the mixture into one of your frozen spoons. Allow the spoon to cool in your freezer until the underside feels “room temperature”. Tilt the spoon. If the mixture has formed a skin and moves sluggishly down the spoon then the marmalade is set and done. If the mixture runs down the spoon easily, return the pot to the stove and continue boiling. Remove the pot from the stove each time you check the set. Check the surface of the jam in the pot after it’s rested off the stove for several minutes. If you notice a skin has formed on jam’s surface, this is another sign the marmalade has set.
If you are canning the marmalade, follow the jar manufacturer’s instructions or if you want to eat your marmalade right away, simply extract the vanilla bean from the mixture and place in glass jars and let cool. Store marmalade in the refrigerator if you aren’t canning it. You can eat the marmalade immediately, but I recommend waiting a couple weeks. The flavors continue to develop and will be in full display several weeks after you make the marmalade.