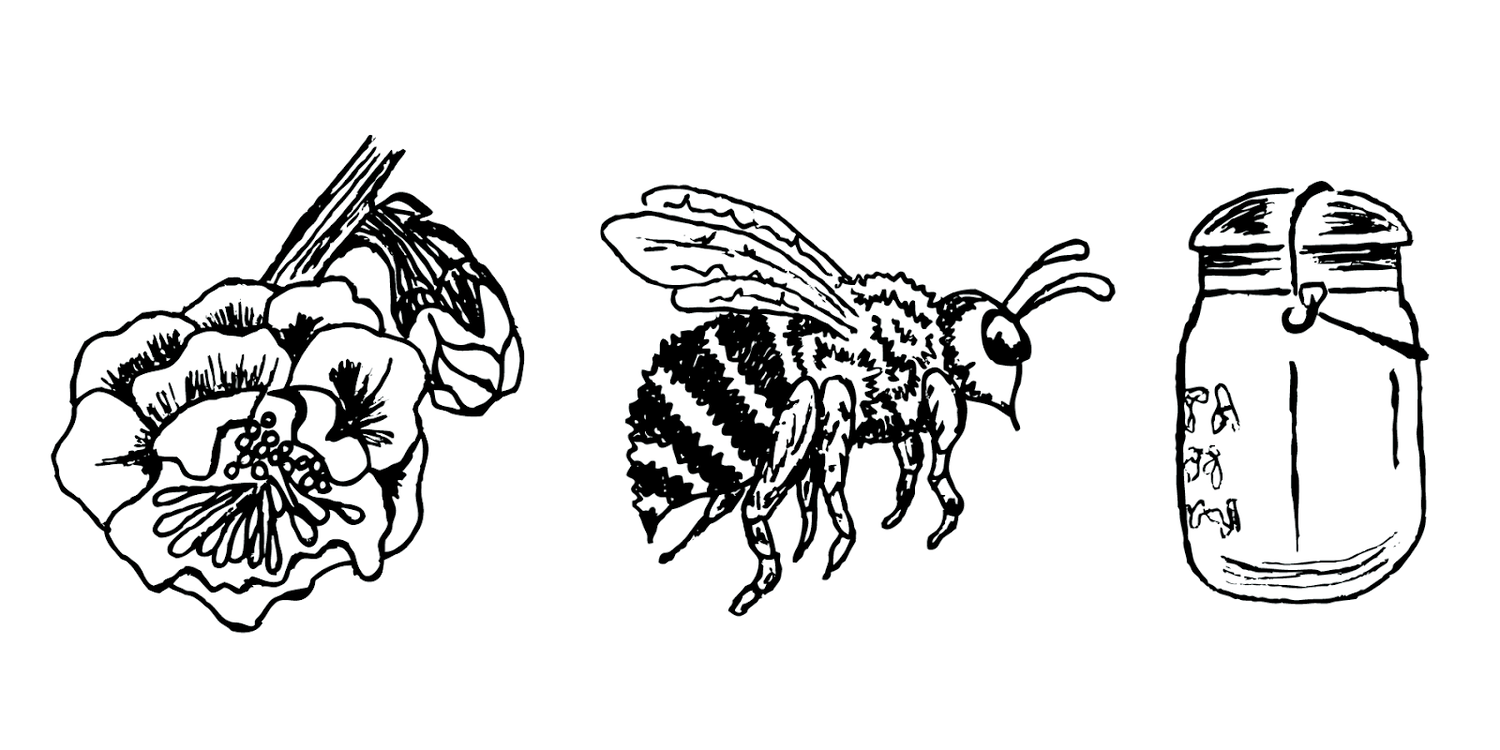
Seville Orange Coffee & Date Marmalade

Seville Orange
3 pounds + 3 ounces Seville* oranges cut evenly into 8 pieces
1 pound + 8 ounces Navel oranges sliced to a thin-medium thickness (instructions below)
4 pounds 8 ounces honey**
4 (liquid) ounces fresh squeezed lemon juice
10 ounces Dates, finely chopped
1 cup coffee beans
1 teaspoon vanilla extract or half a vanilla bean
* Seville Oranges are sometimes sold as Marmalade Oranges. Ask your local store’s produce department or get some online from The Florida Orange Shop or Ripetoyou.com.
**I often use blackberry/blueberry honey. If possible, pick a honey that’s light colored, sweet/fruity tasting, a honey where the taste of wax and comb are less forward. A fruity/sweet honey allows the fruit being preserved to shine through in the finished preserves. A light colored honey, and (depending on the flower varietal since some flowers produce inherently darker honey) a raw honey, can help keep the color lighter in your finished preserve. But don’t overthink this either. If only Clover Honey is available, use it!
There are 5 working elements to this marmalade.
1) First there is the fruit that supplies the majority of “the juice”. That juice eventually becomes the jelly portion of the marmalade. In this case the fruit doing this work is Seville Orange. The juice is made by cooking fruit in water and the water captures all the flavor and pectin from the fruit. Down the road that available pectin sets the jelly portion of the marmalade.
2) The fruit that supplies the textural element to the marmalade also known as “the shred”. In this case, Navel Oranges are the shred in the marmalade. Because the shred is cooked in water to make it soft and pleasant for eating, the water contains pectin and fruit flavor from the oranges making it a more minor contributor to our marmalade’s juice portion.
3) The honey in this recipe, like in all V Smiley Preserves, serves as the thickener (sugar, and honey to a lesser degree than sugar, attracts water to it, which frees up pectin to form a continuous network and that network begets the preserves’ “set”). And the honey works as a preservative (occupying water molecules which if left to their own devices invite spoilage) in the preserve.
4) The lemon juice performs two jobs. Most importantly it provides balance of flavor in the finished product. Lemon juice brightens flavor. Second, lemon juice helps pectin work more effectively. The explanation for exactly how lemon juice assists pectin involves positive and negative charges of pectin when water is involved. I’ll explain that detail in a later post about the mysterious, wandering and reactive character called Pectin.
5) Last, I’ve elected to use a mixture of aromatics and additions that are in truth non-essential to producing a flavor-balanced and texturally-correct preserve, but they’re fun to work with! Aromatics and additions like the dates in this marmalade lend playfulness, whimsy, and a curiosity about flavor to the finished product. How do dates effect the taste of Seville Orange and when we eat this marmalade; at what point do we taste the coffee bean flavor? I started making Seville Orange Coffee Date Marmalade because I wanted the incredible Seville orange to be more approachable. Sevilles are super flavorful, but very bitter and that bitterness has a limited audience. So while this marmalade isn’t exactly super sweet, it brings together a collection of comforting and familiar flavor profiles, dates, coffee and vanilla. Knowing that those pieces of citrus rind have a huge, sometimes jarring impact on people’s experience of flavor I chose to use a less bitter citrus for the shred with the hope of again, keeping this marmalade more approachable.
Day 1
Start preparing the Seville Orange juice. Cut each orange into 8 even pieces and place your prepped oranges in a non-reactive cooking pot that’s large enough to keep the orange pieces in almost a single layer. Cover the pieces with water to one inch above the fruit line. Before I start filling my pot with water, I mark that place one inch above the fruit with my finger. I do this because the fruit floats and rises with the water and it’s easy to add more water than you need. I fill the pot with water until liquid reaches that finger marker. Cover the fruit and water and leave at room temperature overnight.
Day 2
Move the Seville Orange pieces and water to the stove, bringing the covered pot up to a boil on a high heat. Once the liquid has reached a boil, turn the heat down. Find the spot on your stove’s dial that allows the covered pot of cooking fruit to maintain a gurgling simmer. Cook the Seville pieces for 2.5 to 3 hours. You can check on them every 30 minutes, pressing the fruit with a spoon, giving a brief stir and staying aware of how the liquid behaves on your spoon. It will thicken slightly over the 2.5 to 3 hours. Make sure the fruit stays submerged in water. When the Seville pieces are done cooking, place a non reactive (no aluminum!) metal mesh strainer (a pasta strainer can work too) over a non-reactive bowl and pour oranges and water through the strainer. You will leave the oranges to drip overnight so make sure there is plenty of space between the strainers bottom and the liquid collecting below. They should not touch. You might need to strain most of the mixture into one container, cover that container and then reset your strainer over another container. Cover straining fruit with plastic wrap and allow to drip for 12 hours.
While the Seville Orange pieces cook, slice the Navel Oranges. Working lengthwise (as though you were making orange wedges), cut oranges into quarters. Then, working widthwise, cut each quarter into thin slices. Your slices should look like tiny pie slices. Place sliced oranges in non-reactive cooking pot and cover with water to one inch above the fruit line. Bring to a boil, immediately lower heat to a gentle simmer, cover and cook oranges for 35-45 minutes. Check on the Navel Orange pieces as they cook. Try biting into the slices to get a sense of how their texture is changing as they cook. When the slices give no resistance to your teeth, they are done. Pull the pot from the heat and let rest 12 hours.

Sliced & sliced.
Day 3
Place several spoons on a plate in your freezer. All the marmalades’ ingredients will be mixed in one large bowl before being transferred into a jam pan. Chop the dates into small pieces and place them in your largest mixing bowl along with the vanilla bean that’s been split and scraped of its seeds (seeds and pod go in the bowl). Or if you are using vanilla extract, add it to the dates. Measure the coffee beans into large mesh tea balls or tie them in cheesecloth or muslin.
Next strain the Seville Orange juice through an extra fine non reactive sieve or several layers of cheesecloth. Add the strained orange juice to the large mixing bowl along with the honey, the Navel Orange pieces and their liquid, and the fresh squeezed/strained lemon juice. Gently stir and incorporate all the ingredients together. Pour the mixture into an 11-quart, non-reactive and wide preserving pan like an enameled Dutch oven or—if you have one—a copper jam pan. If you do not have a large pan, split the mixture in two and cook in your standard stock-pot in two rounds. Drop the satchel of coffee beans into the pot.
Over high heat, bring the pot to a boil. The mixture will cook at high heat until it sets. The spoons in the freezer will help determine whether the the marmalade is finished, but clues to the state of the “set” will show throughout the cooking process. Cooking times vary depending on the pan and your stove. The cooking mixture will proceed through several cooking stages. When it reaches the foaming stage start to run a heatproof spatula along the bottom of your pan. Don’t over-stir! This slows the cooking process. You are using your spatula to feel what’s happening on the bottom of the pot. Mainly you are making sure nothing is sticking and an assured running of your spatula along the bottom of the pan helps prevent sticking. When the marmalade starts to foam in the pan, this is the time to really pay attention to any sticking on the pan’s bottom. The marmalade will be in the high foam stage for a while before it actually sets, but notice how the bubbles of the foam get smaller and finally the whole mixture starts to look more like a mass that’s cohesive and has an element of airy puffiness to it.
Test for doneness by pulling the pot off the heat and placing a small bit of the mixture into one of your frozen spoons. Allow the spoon to cool in your freezer until the underside feels “room temperature”. Tilt the spoon. If the mixture has formed a skin and moves very sluggishly down the spoon then the marmalade is set and done. If the mixture runs down the spoon easily, return the pot to the stove and continue boiling. Remove the pot from the stove each time you check the set. Also, check the surface of the jam in the pot after it’s rested off the stove for several minutes. If you notice a skin has formed on the surface surface, this is another sign the marmalade has set.
Once you’ve determined whether the marmalade is finished let it sit for 2-4 minutes off the heat. This helps ensure that the Navel Orange pieces stay dispersed in the jar. Sometimes if you jar too fast all the slivers of citrus shoot to the top of the jar.
If you are canning the marmalade, follow the jar manufacturer’s instructions or if you want to eat your marmalade right away, simply extract the vanilla bean and coffee beans from the mixture and place in glass jars and let cool. Store marmalade in the refrigerator if you aren’t canning it. You can eat the marmalade immediately, but the flavors will shift and integrate over the following weeks. The finished flavor will come into its own about two weeks after cooking.